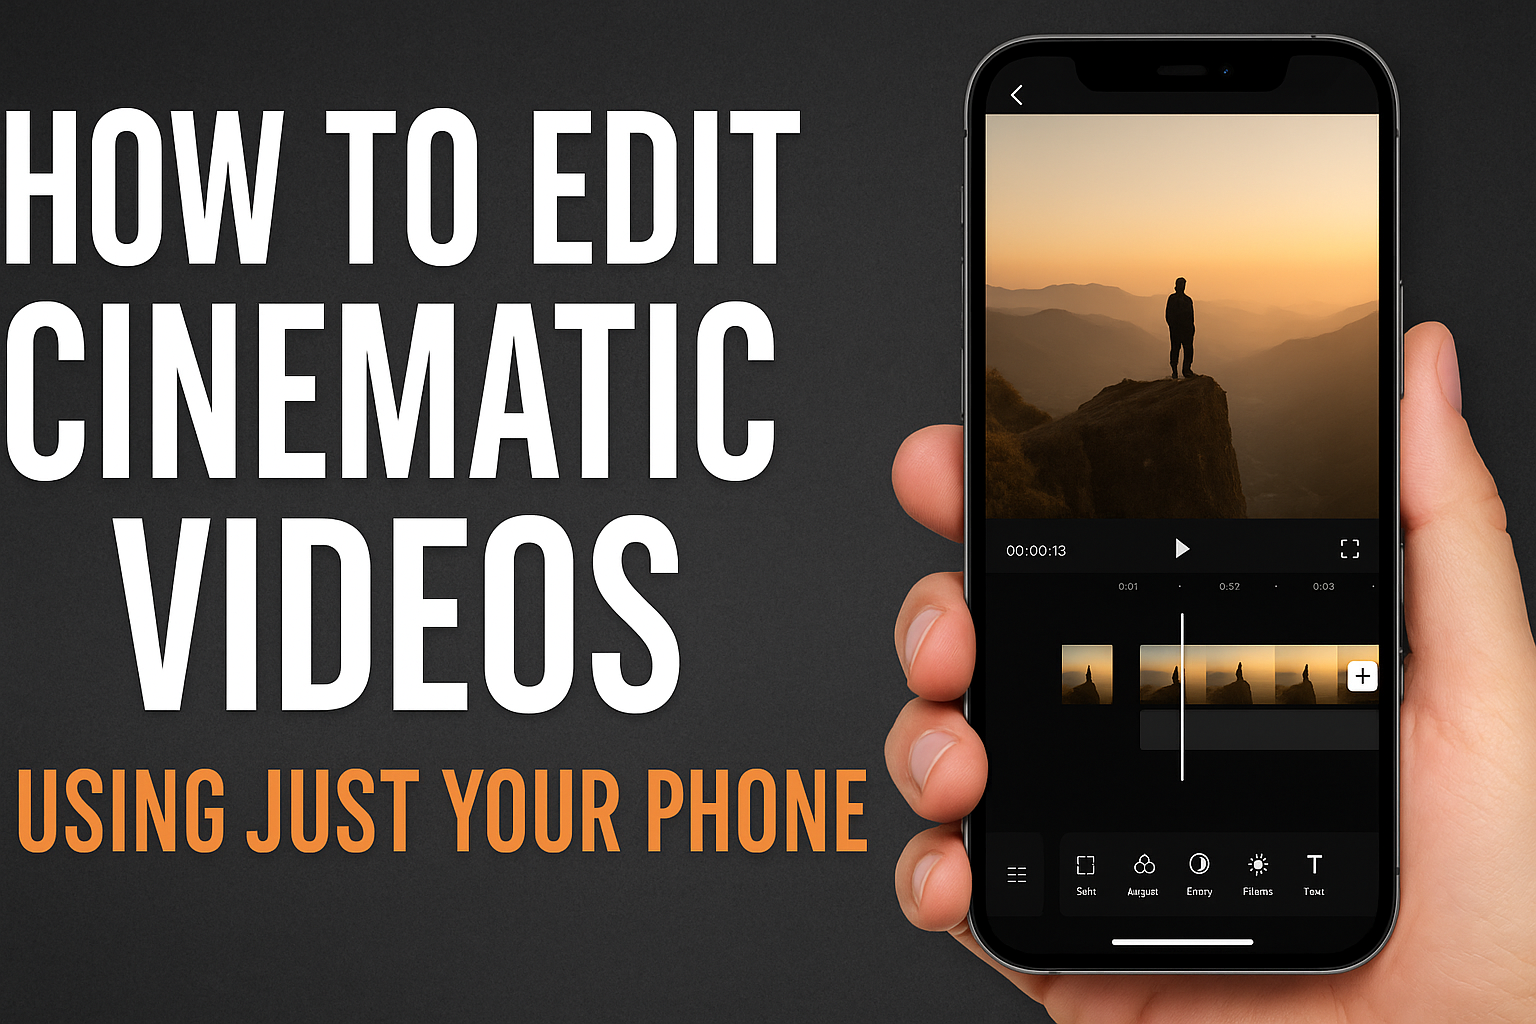
How to Edit Cinematic Videos Using Just Your Phone
Gone are the days when editing cinematic videos required high-end computers and expensive software. Today, your smartphone is powerful enough to shoot and edit professional-looking videos — right from your pocket. Whether you’re a travel vlogger, content creator, or someone who just loves filmmaking, you can create stunning visuals on the go.
In this guide, we’ll break down how you can edit cinematic videos using just your phone, covering everything from apps to techniques, color grading to storytelling — all without sounding overly technical. Let’s dive in.
1. Choose the Right Video Editing App
The first step is picking a solid video editing app. Some apps are feature-rich yet simple enough for mobile editing. Here are the top options:
a. CapCut
Free and easy to use, CapCut offers built-in cinematic filters, keyframe animation, transitions, and more. It’s perfect for beginners and intermediate editors.
b. VN Video Editor
This is a professional-grade editor with features like LUT import (for color grading), multi-layer editing, and slow-motion control — all for free.
c. LumaFusion (iOS only)
If you’re an iPhone user and serious about mobile filmmaking, LumaFusion is worth the investment. It offers magnetic timelines, professional transitions, and in-depth color grading.
2. Shoot with Editing in Mind
Editing begins before you hit record. If you want that cinematic look, you must shoot accordingly:
- Use natural light: Early morning or golden hour gives the most cinematic results.
- Shoot in 24fps: Most phones allow changing the frame rate. 24fps mimics the look of film.
- Use gridlines to follow the rule of thirds.
- Keep shots steady: Use a gimbal or tripod. Even handheld shots should be stable if you want that cinematic feel.
Apps like FiLMiC Pro let you control ISO, shutter speed, and focus, helping you shoot better-quality footage for post-editing.
3. Master the Basics of Editing
When you’re editing on your phone, keep it simple. Start with these basic steps:
a. Trim & Arrange Clips
Cut out unnecessary parts. Keep your story tight. The shorter and sharper your video, the more cinematic it feels.
b. Add Transitions
Avoid flashy transitions. Stick to fade-in, fade-out, or cross-dissolve for a subtle, professional touch.
c. Use Sound Wisely
Sound is 50% of the cinematic experience. Use background music and sound effects, but don’t let them overpower the visuals. Apps like InShot and CapCut have royalty-free music libraries built-in.
4. Color Grading for That Cinematic Look
This is where the real magic happens. Color grading transforms regular footage into a movie-like visual. Here’s how to do it on your phone:
a. Use LUTs (Look-Up Tables)
Many apps let you import LUTs — these are presets that apply a specific color tone. Apps like VN Editor or LumaFusion support LUTs.
b. Adjust Manually
If you want more control:
- Increase contrast slightly for depth
- Desaturate colors a bit for a filmic feel
- Add a warm tone to shadows or highlights for mood
Avoid overly saturated or super bright looks — cinematic videos usually lean toward more natural, muted tones.
5. Add Cinematic Bars (Letterboxing)
Those black bars at the top and bottom? That’s letterboxing. It gives your video a widescreen aspect ratio and immediately looks more “film-like.”
Most editing apps have a simple way to add this:
- In CapCut, go to “Overlay” > import a black PNG bar or use their built-in format tool.
- VN Editor has an aspect ratio setting that lets you select 2.35:1 or 2.39:1 formats.
6. Use Text and Titles Sparingly
Cinematic videos are visual stories. Too much text can ruin the immersion. When you do use it:
- Stick to minimalist fonts like Montserrat, Roboto, or Helvetica Neue
- Place text at the bottom or corners
- Use fades for smooth entry/exit
Pro tip: Avoid loud colors. Use white or subtle tones that blend into the mood.
7. Slow Motion and Speed Ramping
Slow-motion is a classic cinematic effect. Most modern phones let you shoot in high frame rates (60fps or 120fps), which you can slow down in post.
Speed Ramping
Speed ramping is changing speeds in one clip (fast > slow > fast). CapCut and VN Editor have built-in speed curve tools to do this with ease. It adds drama and rhythm to your visuals — very effective in action or emotional scenes.
8. Tell a Story
Even if your video is just a montage, give it a story arc:
- Intro – Establish setting
- Middle – Show action or emotion
- Outro – Resolve or leave on a thoughtful note
Good storytelling turns clips into a film. Add music that matches the mood, edit on the beat, and pace your shots to reflect the energy.
9. Export in High Quality
Before uploading your video to YouTube, Instagram, or TikTok:
- Export in 1080p or 4K if possible
- Use 30mbps+ bitrate for better clarity
- Avoid compressing the video too much
Also, choose the right aspect ratio for the platform. For example:
- 16:9 for YouTube
- 9:16 for Instagram Reels or TikTok
10. Bonus: Use Templates Wisely
Apps like CapCut offer cinematic templates, which can save you time. While these are good for quick edits, avoid relying on them too much. Add your unique touch. Templates are a good base — your creativity is what makes the video shine.
Conclusion
Editing cinematic videos on your phone is not just possible — it’s powerful. With the right apps, a bit of practice, and an eye for detail, you can produce videos that rival what’s made on desktops. Remember, the goal isn’t to mimic Hollywood but to tell your story beautifully and with intention.
So grab your phone, shoot something today, and start crafting your own cinematic masterpiece.
